
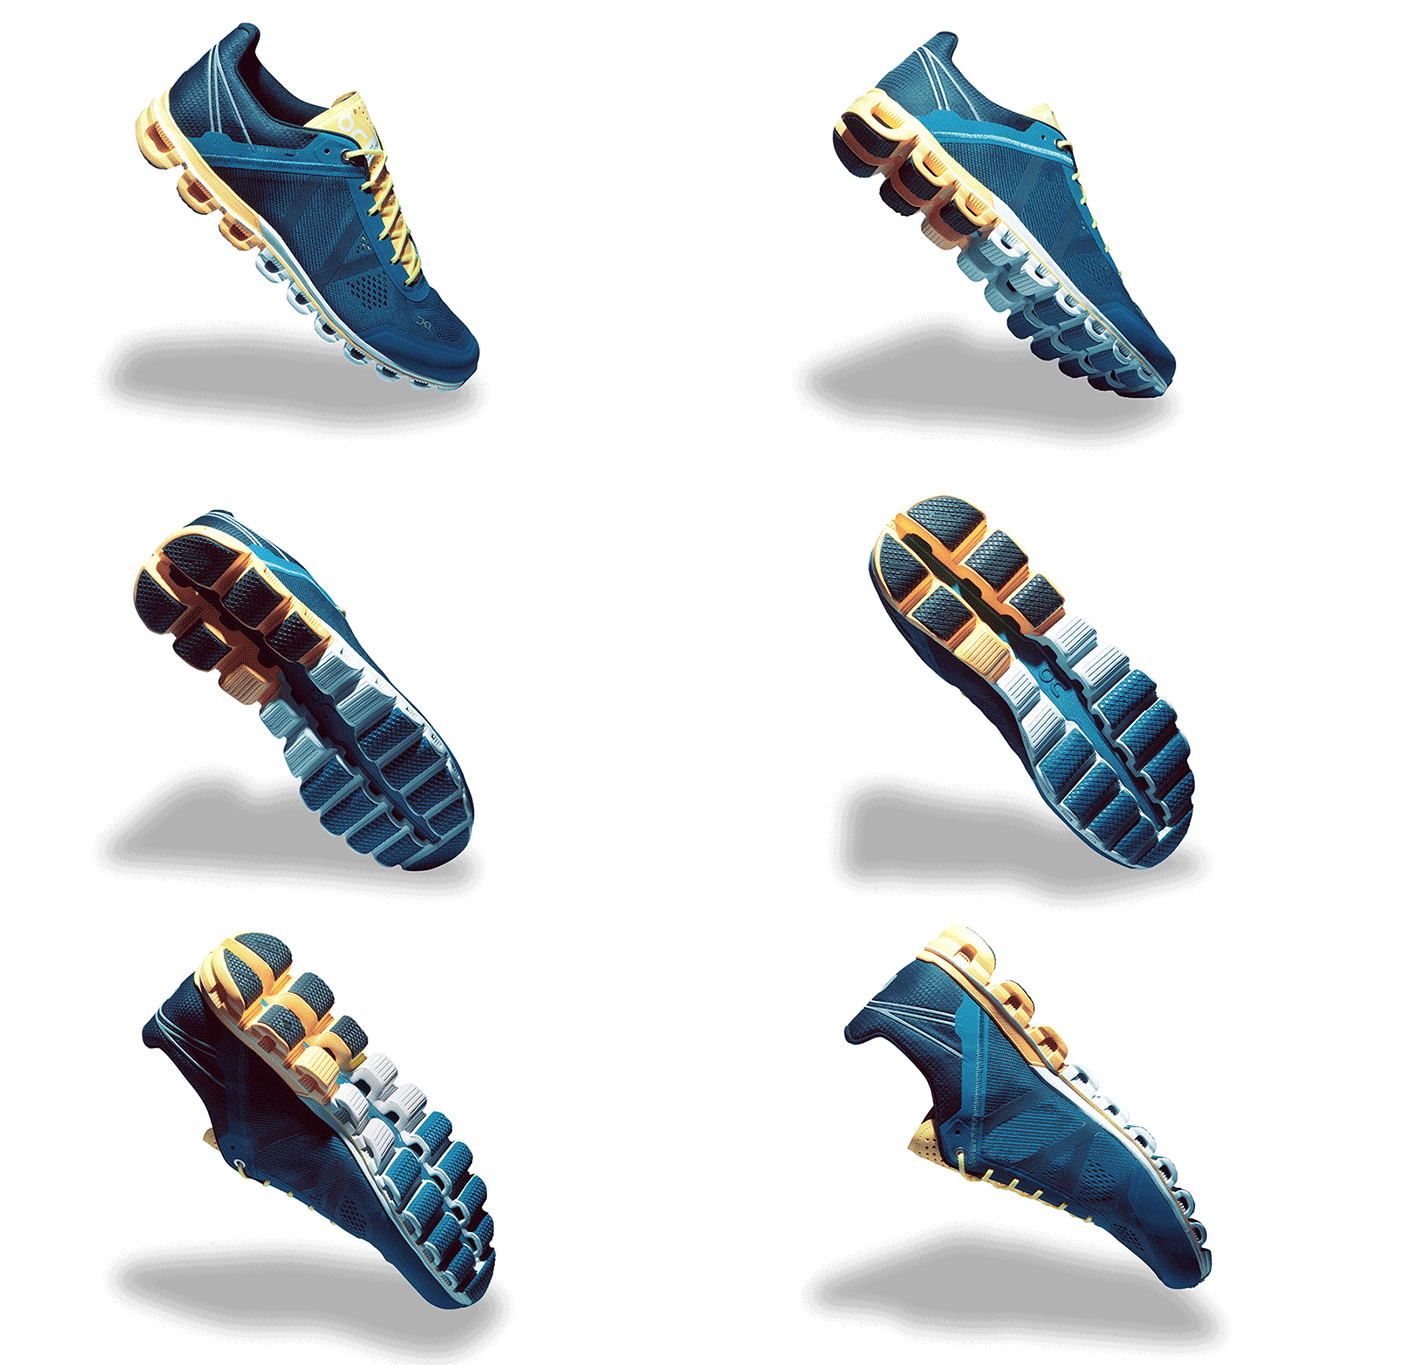
How to Remove Backgrounds from Product Photos Without Losing Detail
A clean product image can make a big difference in how customers view an online store. It helps shoppers focus on the product, understand its features, and see important details clearly.
That is why Product Photo Background Removal is an important part of professional eCommerce photography.
However, removing a background is not simply about making everything around a product disappear. Poor editing can damage product edges, remove small details, change fabric textures, and create unnatural outlines. For example, a poorly edited clothing image may lose fine fabric threads, while a jewelry photo may have missing chain links or rough edges.
These small problems can make product images look less professional and reduce customer confidence.
The goal of good background removal is to separate the product from its original background while keeping its natural appearance. In this guide, we will explain the different methods, practical editing techniques, common mistakes, and how to get clean results without losing important product details.
What Is Product Photo Background Removal?
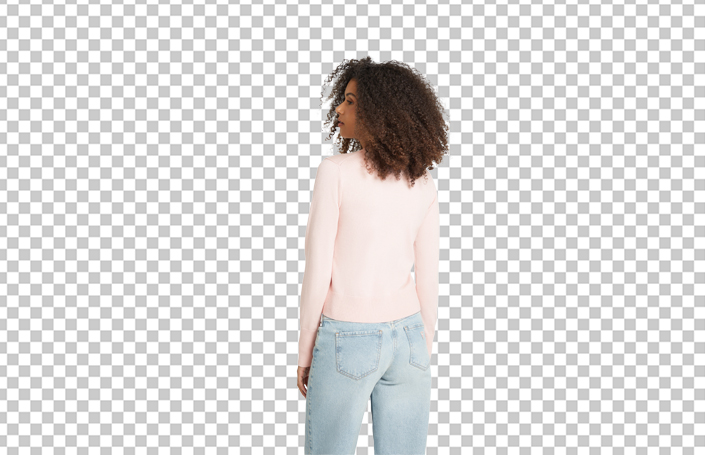
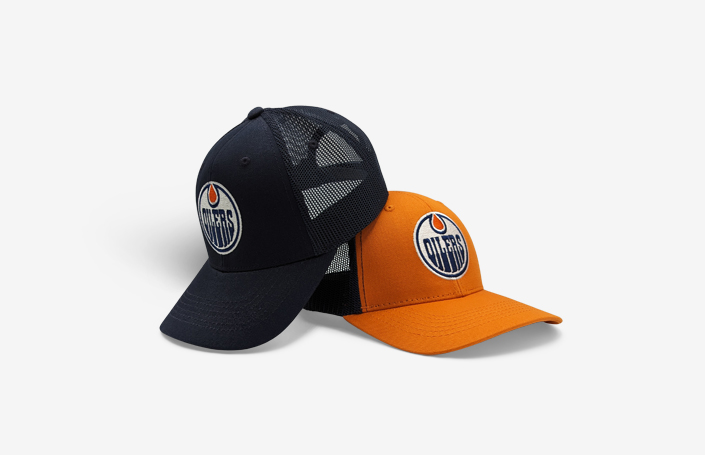
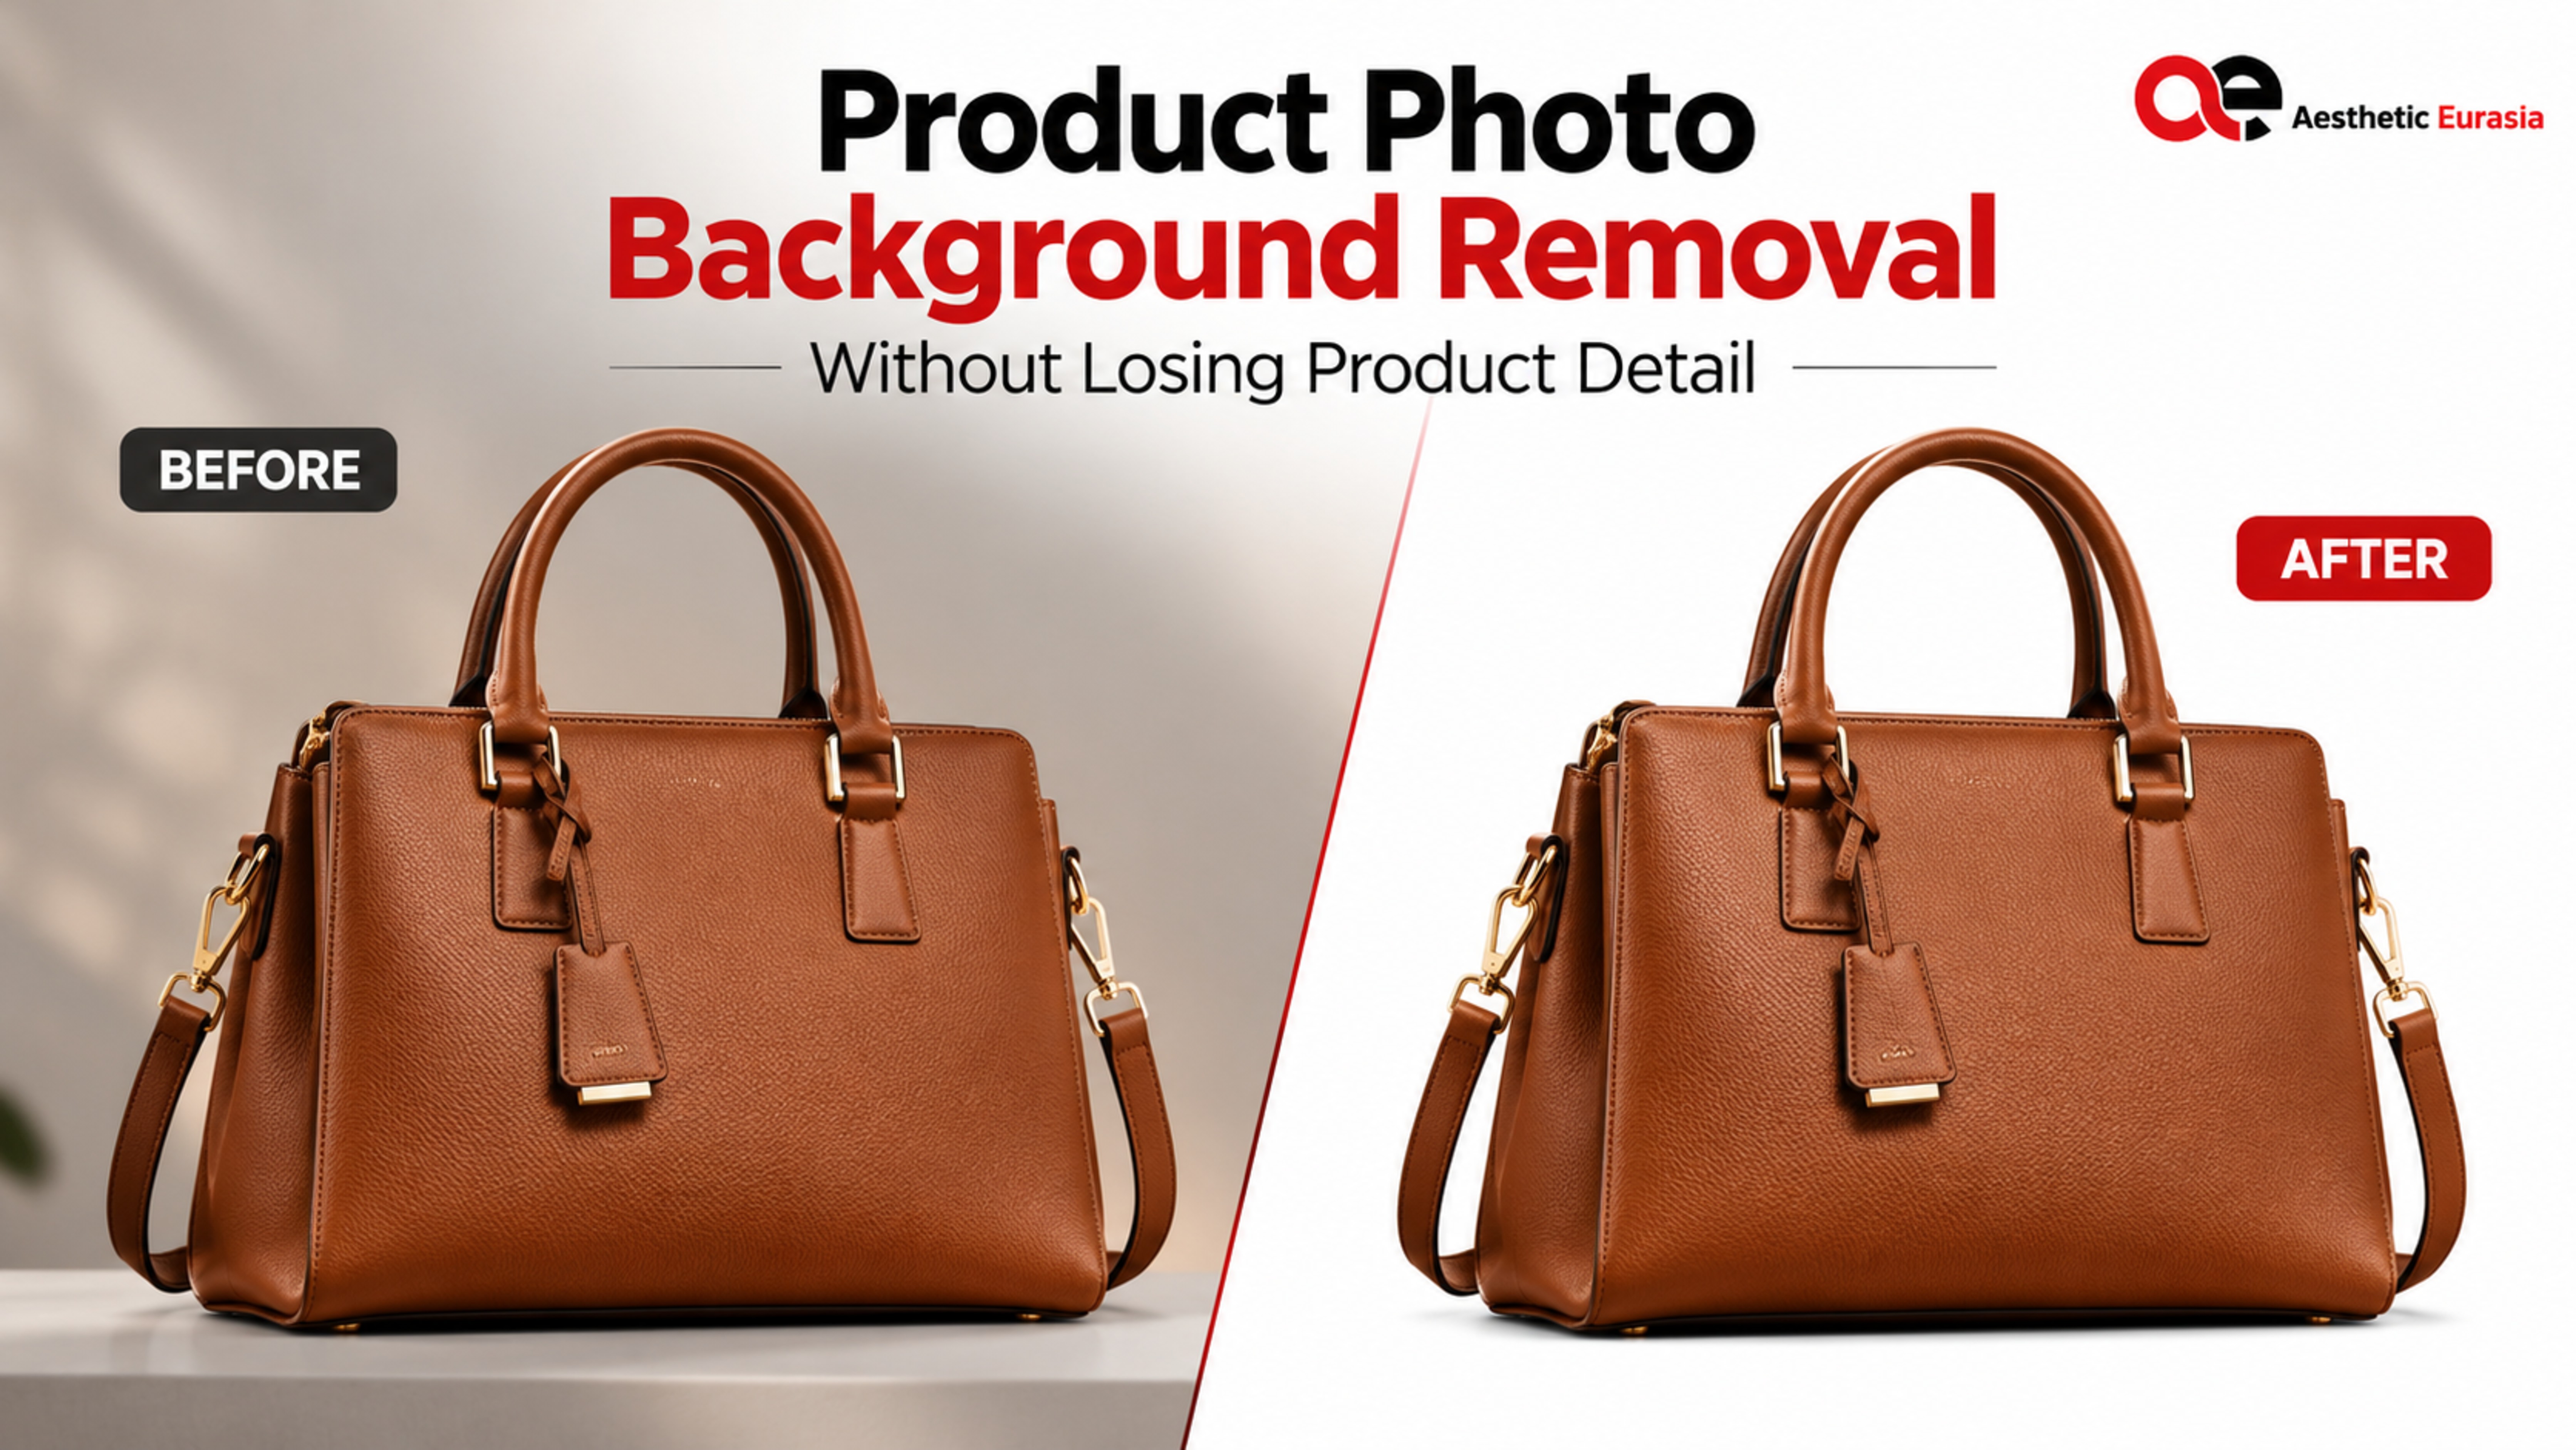
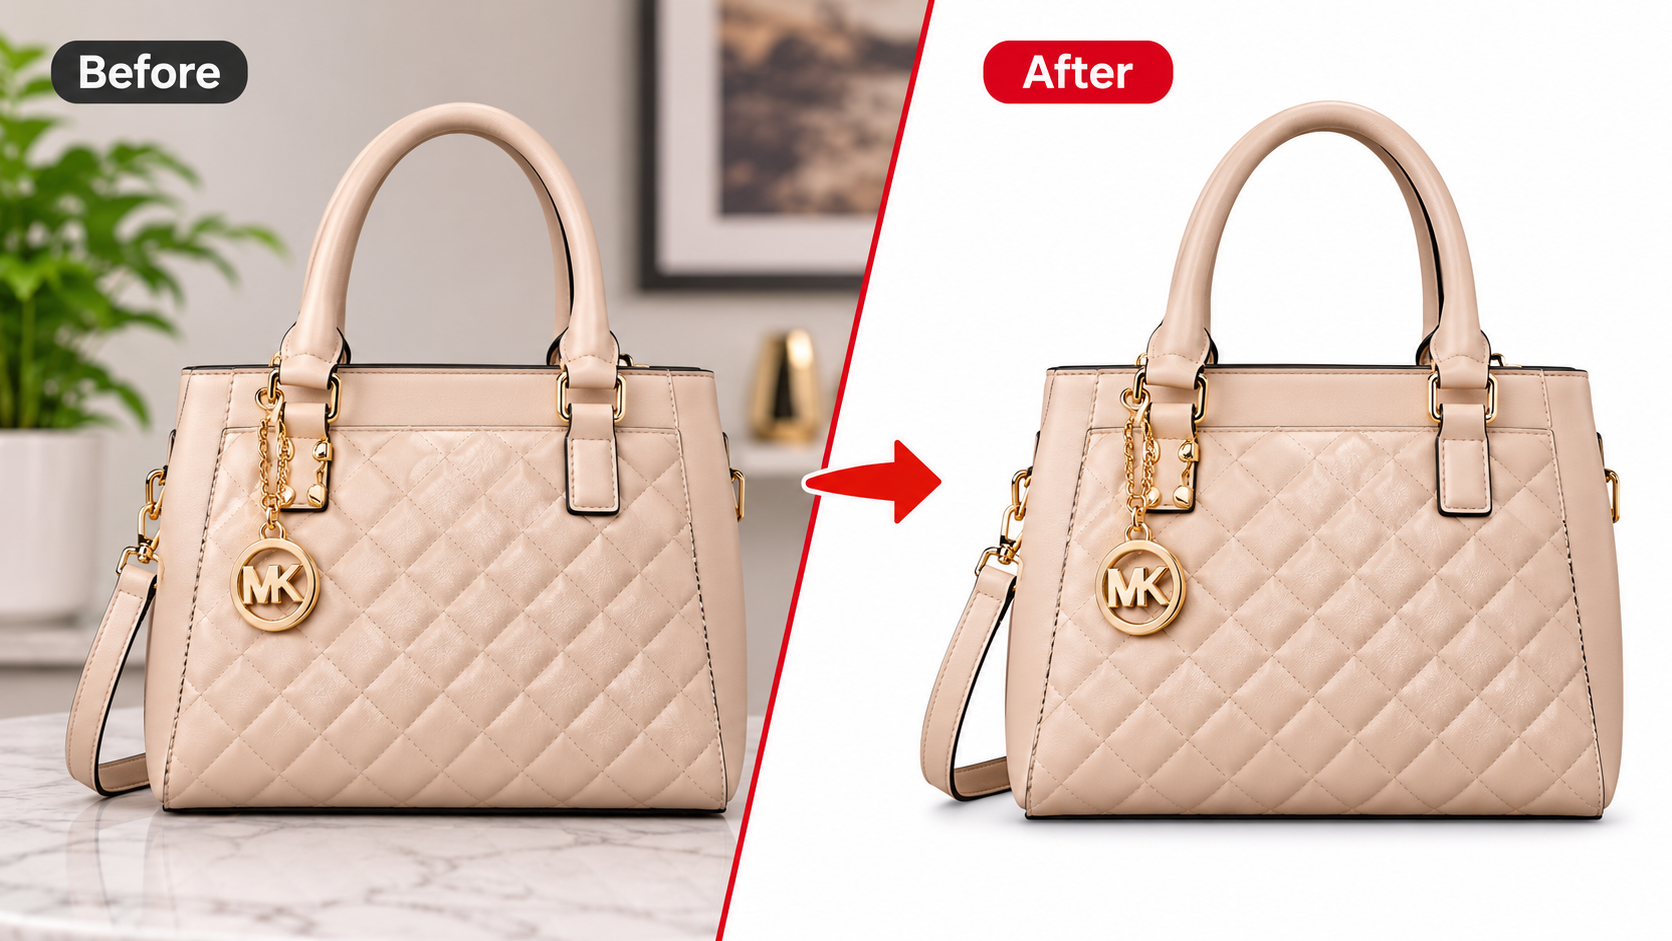
Product photo background removal is the process of separating a product from its original background and replacing it with a clean, transparent, white, or custom background.
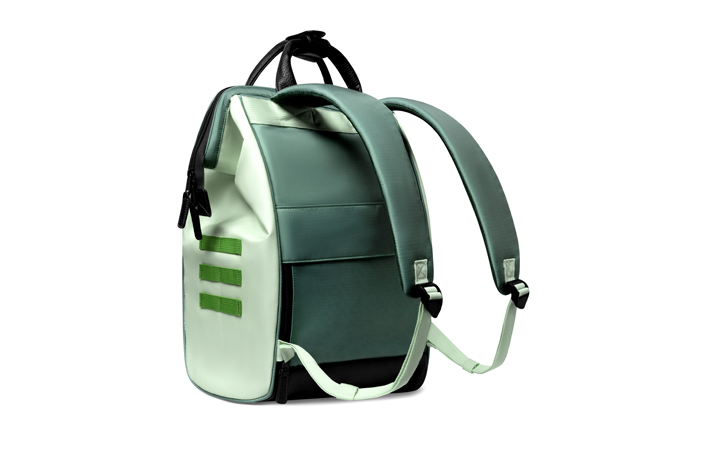
For example, imagine taking a picture of a handbag on a wooden table. The original image contains both the handbag and the table. Background removal separates the handbag so it can be placed on a plain white background or another suitable setting.
eCommerce businesses commonly use this technique for:
- Creating clean product catalog images.
- Maintaining a consistent look across product collections.
- Preparing images for online marketplaces.
- Removing distracting objects from product photos.
- Creating transparent product images for website designs and marketing materials.
A clean background helps customers focus on the actual product instead of unnecessary visual elements. It is also important to follow the image requirements of each marketplace.
Common Methods of Product Photo Background Removal
There are several ways to remove backgrounds. The right method depends on the product's shape, texture, edges, and level of detail.
1. Manual Background Removal
Manual background removal involves editing the image by hand using professional image editing software.
An editor carefully separates the product from the background using selection tools, brushes, and layer masks.
Advantages:
- Greater control over product edges.
- Better handling of unusual shapes.
- Suitable for detailed product photographs.
- Allows careful correction of small imperfections.
Limitations:
- Takes more time than automated methods.
- Requires editing experience.
- Can be costly for large image collections.
Best for: Detailed jewelry, fashion products, accessories, and products with irregular shapes.
2. AI-Based Background Removal
AI-based tools automatically identify the main subject and separate it from the background. Many online tools can complete this process within seconds.
They are useful when businesses need to process a large number of simple product images quickly.
Advantages:
- Fast processing.
- Easy to use.
- Suitable for simple product shapes.
- Helpful for initial background removal.
Limitations:
- May miss small product details.
- Can create rough edges around complex objects.
- May struggle with transparent or reflective materials.
- Often requires manual correction.
Best for: Simple products such as boxes, books, basic packaging, and products with clear edges against contrasting backgrounds.
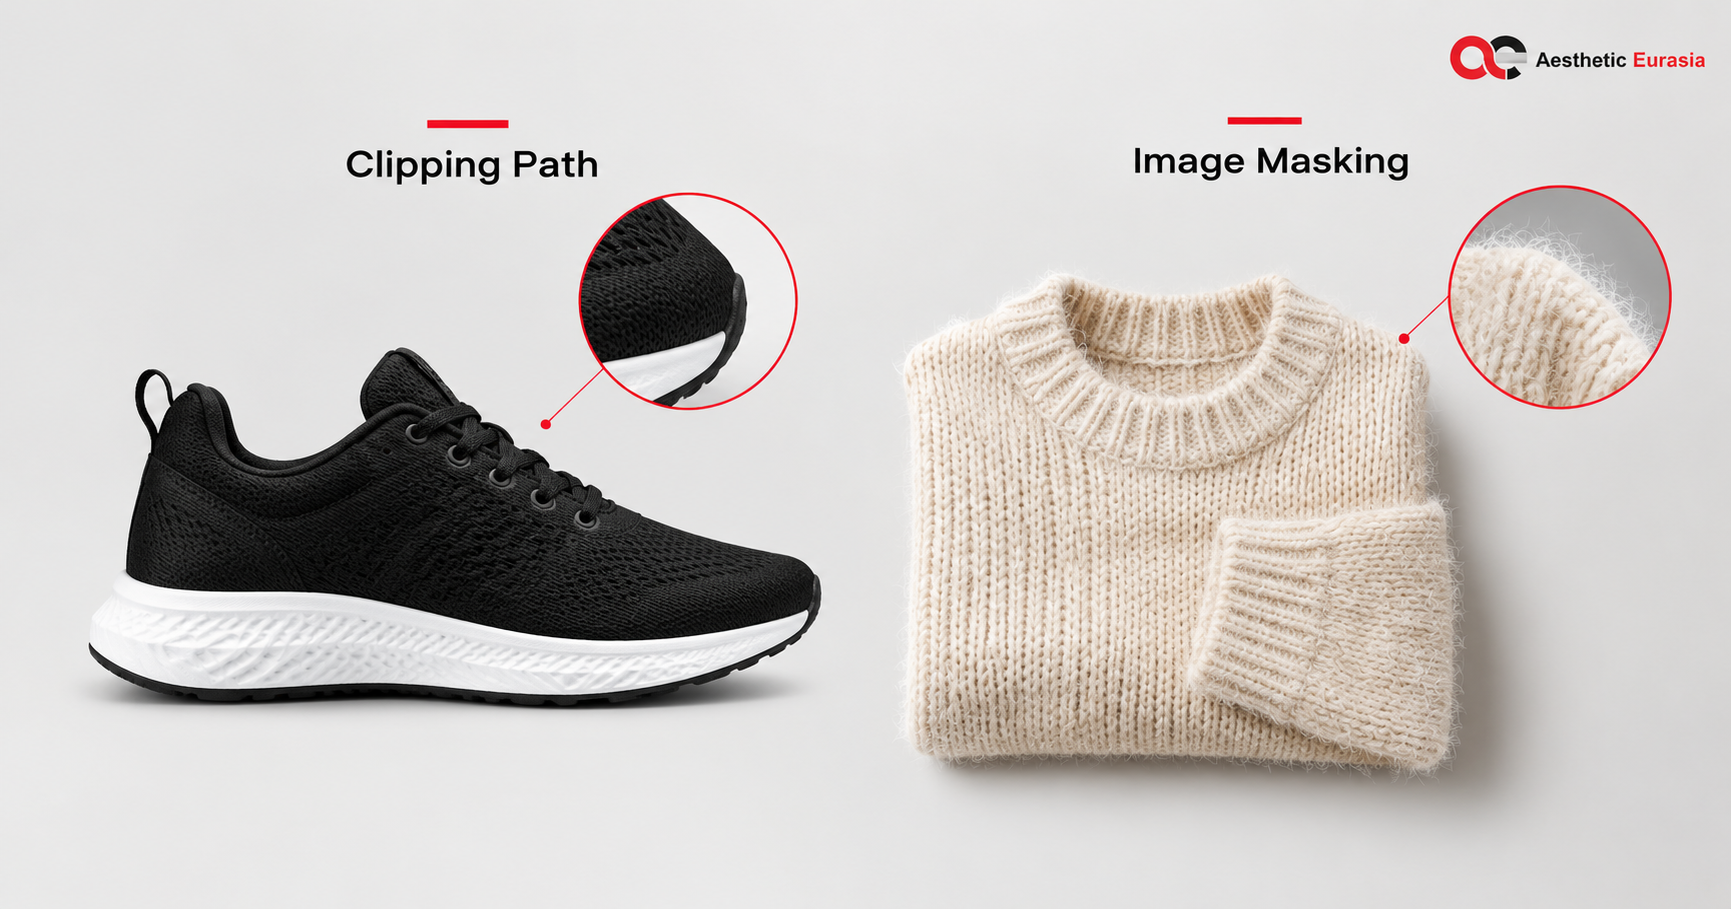
3. Clipping Path Technique
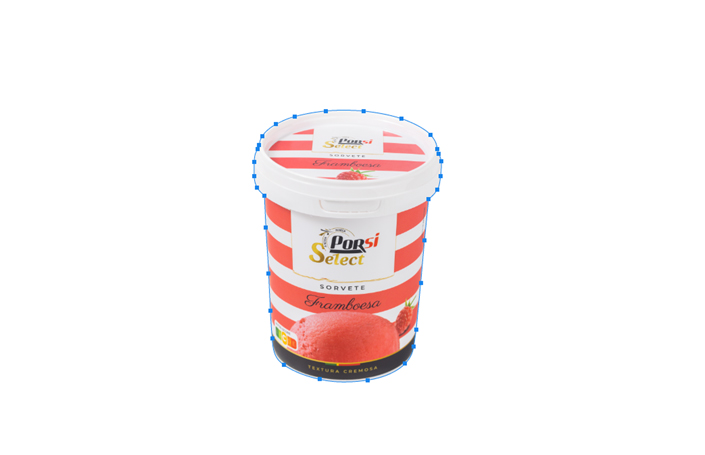
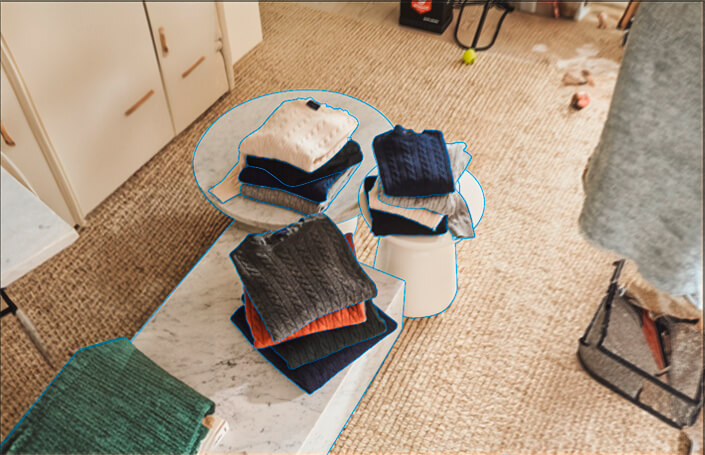
Clipping Path is a manual technique that uses a vector path to outline a product. The editor creates a precise boundary around the object and removes the background outside that boundary.
It works particularly well when the product has clear, defined edges.
Advantages:
- Precise edge selection.
- Clean and consistent results.
- Suitable for products with solid outlines.
- Allows accurate control over product shape.
Limitations:
- Not ideal for individual hair strands or fine fur.
- Can be time-consuming for complex shapes.
- Requires careful manual work.
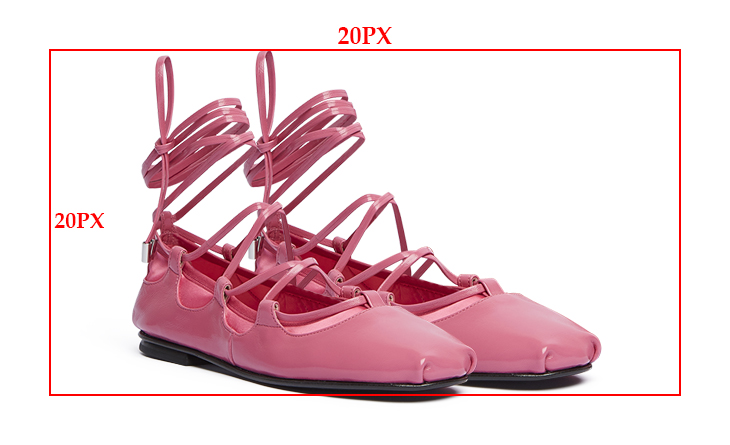
Best for: Shoes, bags, electronics, furniture, bottles, and products with hard edges.
4. Image Masking Technique
Image Masking is used to separate products that have complicated edges, soft textures, or partially transparent areas.
Instead of creating only a hard outline, the editor carefully controls which parts of the image remain visible and how transparent the edges appear.
This makes it possible to preserve fine details such as individual hair strands, fabric threads, and soft fur.
Advantages:
- Preserves soft and complex edges.
- Suitable for detailed textures.
- Helps retain natural transparency.
- Produces more realistic results for difficult subjects.
Limitations:
- Requires technical editing skills.
- Can take considerable time.
- Results depend on the original image quality.
Best for: Fur products, clothing with loose threads, hair, feathers, transparent glass, and other complex objects.
How to Remove Backgrounds Without Losing Product Details
Getting a clean cutout requires more than selecting a product and deleting everything around it. You must protect its original shape, texture, color, and small details.
Here are some practical steps to follow.
1. Choose the Right Background Removal Method
Start by checking the product's edges and texture.
A shoe or handbag usually has defined edges, so a Clipping Path is a good choice. A fur jacket or feather accessory needs Image Masking because its edges are soft and irregular.
Using the correct technique reduces editing problems.
2. Preserve Natural Product Edges
Avoid cutting too close to the product. This can remove important parts of its original shape.
For example, when editing a handbag, keep the stitching, handles, zipper edges, and small decorative elements intact. The final outline should look natural, not artificially sharp.
3. Maintain Fabric Texture and Fine Details
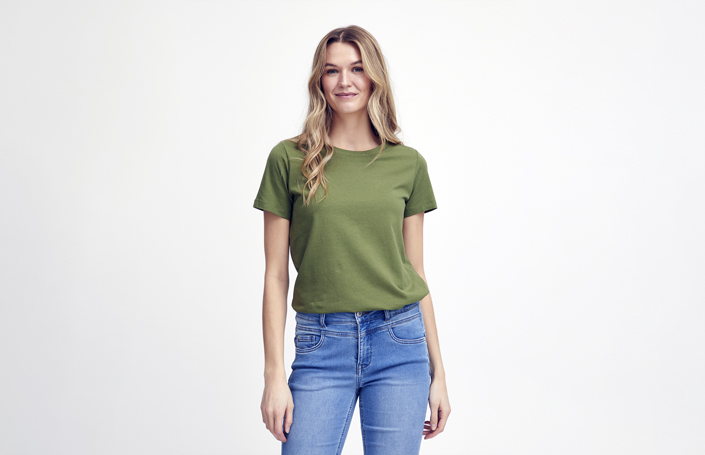
Clothing products often contain small details such as loose threads, fabric patterns, embroidery, and stitching.
Do not remove these details while cleaning the background. Use careful masking and zoom in when necessary.
For example, a close-up image of an embroidered dress should retain every visible thread and decorative pattern.
4. Handle Hair, Fur, and Soft Edges Carefully
Products with fur, feathers, or loose fibers need special attention.
A hard selection can make these materials look flat or cut out. Image Masking helps preserve individual strands and creates a softer, more realistic edge.
Adobe's Photoshop selection and masking tools also provide refinement options for hair and complex edges. Adobe's selection and masking guide explains these options.
5. Work Carefully With Transparent Products
Glass bottles, perfume containers, and transparent packaging are difficult to edit because their edges may blend with the original background.
Simply deleting the background can remove natural transparency and reflections.
Instead, preserve the visible highlights, reflections, and transparent areas. Use masking techniques and carefully adjust transparency so the product still looks like real glass.
6. Preserve Natural Shadows and Reflections
Shadows give products a sense of depth. Removing every shadow can make an object appear to float.
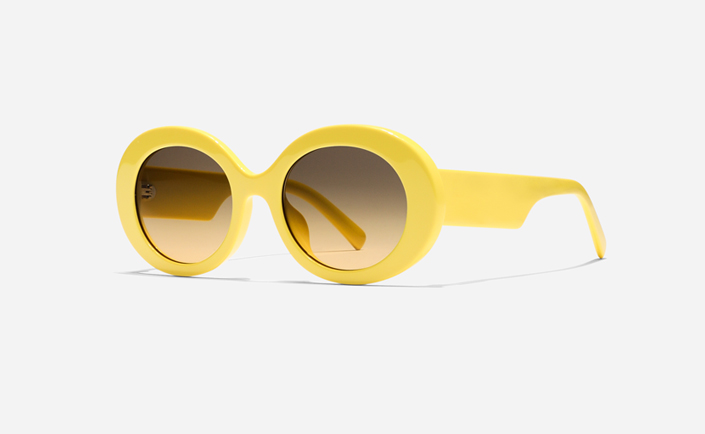
For example, a perfume bottle or pair of shoes looks more natural when a subtle shadow remains underneath.
You can retain the original shadow or create a realistic replacement, depending on the final design requirements.
7. Avoid Rough Edges, White Halos, and Color Fringes
A white outline around a dark product or a colored fringe around its edges can make an edited image look artificial.
These problems often happen when the original background color remains around the product.
Check the edges against different background colors. Refine the mask and remove unwanted background pixels without cutting into the actual product.
8. Maintain Original Colors and Proportions
Background removal should not change the product itself.
A black shirt should remain black, and a gold necklace should retain its original gold tone. Avoid stretching, squeezing, or reshaping the product during editing.
If color correction is necessary, make sure it reflects the actual product as closely as possible.
9. Check the Final Image at 100% Zoom
Never approve an edited image based only on how it looks when zoomed out.
Open the final image at 100% zoom and inspect:
- Product edges and outlines.
- Small details and stitching.
- Hair, fur, and fabric textures.
- Transparent areas and reflections.
- Unwanted background pixels.
- Natural shadows and proportions.
This final inspection helps catch problems that may not be visible in a smaller preview.
Clipping Path vs. Image Masking: Which One Should You Use?
Both techniques are important in professional Product Image Editing. However, they are designed for different types of products.
| Comparison | Clipping Path | Image Masking |
| How it works | Uses a manually created vector outline | Uses masks to control visible and transparent areas |
| Best products | Shoes, bags, furniture, electronics | Fur, hair, feathers, fabric, glass |
| Edge detail | Best for clear, defined edges | Best for soft and complex edges |
| Main advantage | Precise and clean outlines | Preserves fine details and transparency |
| Limitation | Difficult with individual strands and soft edges | Requires careful adjustment and experience |
When should you choose the Clipping Path?
Choose a Clipping Path when your product has a clear and solid outline. It works well for shoes, furniture, handbags, and electronics.
When should you choose Image Masking?
Choose Image Masking when your product has soft, complicated, or partially transparent edges. It is more suitable for fur, feathers, loose fabric, hair, and glass products.
Sometimes, a project needs both techniques. An editor may use a Clipping Path for the main product shape and Image Masking for complicated details.
Common Background Removal Mistakes to Avoid
Even a small editing mistake can make a product image look unprofessional. Watch out for these common problems:
- Cutting off important details: Removing parts of handles, chains, buttons, or decorative elements changes the original product.
- Removing natural shadows: Without a suitable shadow, products may look like they are floating.
- Leaving rough or jagged edges: Poor selections create uneven outlines, especially around curved products.
- Creating unnatural product outlines: Excessive feathering or sharpening can make edges look artificial.
- Losing fabric or hair details: Hard selections can remove small threads, fur, and individual strands.
- Changing the original product color: Incorrect color adjustments can misrepresent the item.
- Trusting automated tools without checking: AI tools are useful, but their results should be inspected and corrected when necessary.
A good editing process always includes quality checking before final delivery.
When Should You Hire a Professional Background Removal Service?
Editing a few simple product photos may be manageable with basic software. However, larger and more complicated projects often need professional support.
Consider hiring a Professional Background Removal service when:
- You have large product collections: Editing hundreds or thousands of images requires a consistent process.
- Your products have complex edges: Jewelry, fur, clothing, and transparent products need more careful editing.
- You run a fashion or jewelry brand: Small details such as embroidery, chains, and fabric textures are important.
- You manage a high-volume eCommerce store: Outsourcing can help your team focus on other business activities.
- You need consistent catalog images: Products should have similar backgrounds, proportions, and visual quality.
- You want to save editing time: A professional team can handle repetitive editing tasks while following your image requirements.
This is where a reliable image editing partner can help.
Aesthetic Eurasia provides professional image editing solutions for eCommerce businesses, photographers, fashion brands, and creative agencies. Its services include background removal, Photo Clipping Path, Image Masking, image retouching, color correction, and other product image editing solutions.
Rather than using the same editing method for every product, the important thing is to choose the right technique for each image and maintain the original product details.
Final Thoughts
Product Photo Background Removal is much more than simply deleting an unwanted background. It is about preserving the product's natural appearance while creating a clean and professional image.
The right editing method can protect important details, maintain realistic edges, preserve fabric textures, and keep product colors accurate.
Whether you are editing a simple handbag, a detailed piece of jewelry, or a transparent glass bottle, always focus on quality rather than editing speed alone.
If you want clean, consistent, and professionally edited product images, explore the background removal and image editing services at Aesthetic Eurasia. The right editing support can make product images ready for your website, online store, marketplace, or marketing campaigns.
Ready to improve your product images? Visit Aesthetic Eurasia to explore professional image editing solutions.
Frequently Asked Questions (FAQs)
1. What is the best method for product photo background removal?
It depends on the product. Clipping Path works best for hard, defined edges, while Image Masking is better for fur, hair, fabric, and transparent objects.
2. Can I remove a product photo background without losing quality?
Yes. Use a high-resolution original image, choose the correct editing technique, preserve the original product details, and inspect the final result before delivery.
3. What is the difference between background removal and image masking?
Background removal is the overall process of separating a product from its background. Image Masking is a specific editing technique used to preserve complex edges and transparency.
4. Which file format is best for a transparent product image?
PNG is a common choice because it supports transparency. PSD is useful when you need an editable layered project. Always check the file format supported by your website or marketplace.
5. Why should I hire a professional background removal service?
A professional service can help with complex product edges, large image collections, consistent editing quality, and time-consuming image processing. It is especially useful for fashion, jewelry, and eCommerce businesses.
 (1).png)